A while back, I posted about this adorable sign that I spied in my LL Bean home catalog.  Falling in love with and buying are two different beasts entirely. No way in the world can I justify spending $30 on a piece of wood with some words on it. No matter how cute. Guess I'll have to make my own!
And to add to the fun- I'm going to make it for free!
My supplies:

-(1) 23"x4" plaque (My brother gave me this, shhhh- it has the name of the town he USED to live in on it- a town I went to 4 times and will likely never go to again, so why do I want a sign with it's name in my house?!- Brothers!)
anyhoo... any blank plaque from the craft store, scrap of wood or even an old picket fence piece would work. Basically you need something long enough to put some words on.
-3 Shades of Paint:
1 any color
1 white of some sort
1 brown of some sort, watered down 2 water:1 paint -to make a wash-
-Sandpaper (I'm not picky, whatever grit you've got)
-Crackle Medium (optional- I happened to have bought gallons of this stuff at a closeout sale for pennies on the dollar)
-Mod Podge
-Strong Craft Glue
-Foam and Bristle Paint Brushes
-Printer Paper and access to a document writing program such as Word
-Scissors
-Anything pretty you'd like to embellish with (I opted for a small starfish)
So the first thing I did was sand the plaque to rough up the current paint job.

Next, I applied my base color- trusty Gem Turquoise by Behr, the same leftover can I used for my wall of frames project (posted on my other blog).

Once that dried just enough to touch (I'm soooo impatient), I applied an even coat of the crackle medium and let that dry for about 2 hours (directions say 1-4 hrs).

If you're going to skip the crackling, wait until your paint is thoroughly dry then lightly sand it before moving on to the next step.
Once your crackle medium has dried the allotted amount of time, apply your second paint color (mine is Beach White by Behr, left over from my kitchen cabinets, mouldings and my side table redo project) in one even coat, in one direction. 
This is important, if you start messing back and forth with the brush and trying to touch up areas, you screw up the crackle and it gets blobby and slimey and you'll wind up having to wipe it down, reapply the medium and wait for it to dry all over again. Ask me how I know this... go ahead, ask me. 

Let the second coat of paint dry for several hours (overnight is not a bad idea)and while you're waiting -if you're waiting- rather than watching paint dry, why not open a Word doc and pick a font you're fond of. I chose Tempus Sans ITC, which I bolded and increased to 120 point for the first line, 95 point for the second line and 48 point for the long./lat. portion.

I changed the color of the font to a dark brown, my layout to landscape and then printed it out.
oh BTW, if you're wondering how to figure out the longitude and latitude of your favorite location, you can go here, type in the address and it will look it up for you!
If you're a lucky person who has a Cricut or something similar, you could certainly make the next step a LOT easier on yourself by doing your letters with that. You could also stencil on your letters (which I would probably do the next time I make one of these, but I don't have an alphabet stencil that would work for this project and remember, I'm making this without buying anything!)
I am not a lucky person with a Cricut, so I took a pair of manicure scissors and cut out the words. I kept the letters of each word attached to each other but cut the words into separate pieces. Since I didn't want to drive myself mad, I didn't worry about cutting super precisely- we'll disguise the white that is showing in a later step.

So now you've got your dried, crackly paint (I should mention that if you skipped the crackle but still want to get a weathered look, lightly dry brush your top coat on so the base color peeks through)and you've got your words all cut out. Work out the placement of your words and embellishments so you don't have to mess too much once you start gluing.
Once you've figured all that out, apply a thin coat of Mod Podge and adhere your words to the sign.  You have a couple of minutes before it gets super tacky where you can shift them around slightly to get them how you want them.
 Once it dries, go back over the words with another coat of Mod Podge to seal and protect the paper.

When the Mod Podge is completely dried, combine your brown paint and water mixture in an old bowl or paper cup. We are purely trying to add a touch of age here, not a solid coat of paint, so make sure it's good and watery!
 Brush it onto the entire sign then go back immediately with a soft rag or paper towel and wipe it off.
 You can leave it a little heavier in some places to give the impression that it's really worn in that area. (this is the step that will help disguise any of the white from the printer paper that is showing around your words!)
Allow your plaque to dry another 24 hours and then if you like, you can sand it in a few spots to age it even more and then apply another coat of Mod Podge over the whole thing to seal it. You can also use a spray sealant or polyurethane (which will yellow with time). Attach any embellishments with a strong craft glue (I like Weldbond)- remember gravity will be working against you, so light hold stuff won't work here! 

Last, find a cool spot to stick your sign, hang it with a saw tooth picture hanger OR if you're using a premade one like mine, it comes with a routed out area in the back for resting on a nailhead. Sit back and admire your handy work- you're a crafting diva!
If you try this challenge, please leave a comment and let me know, I'd love to see what you come up with!
Linked up to Shop the House Sunday over at Finesse Your Nest!
Read more...
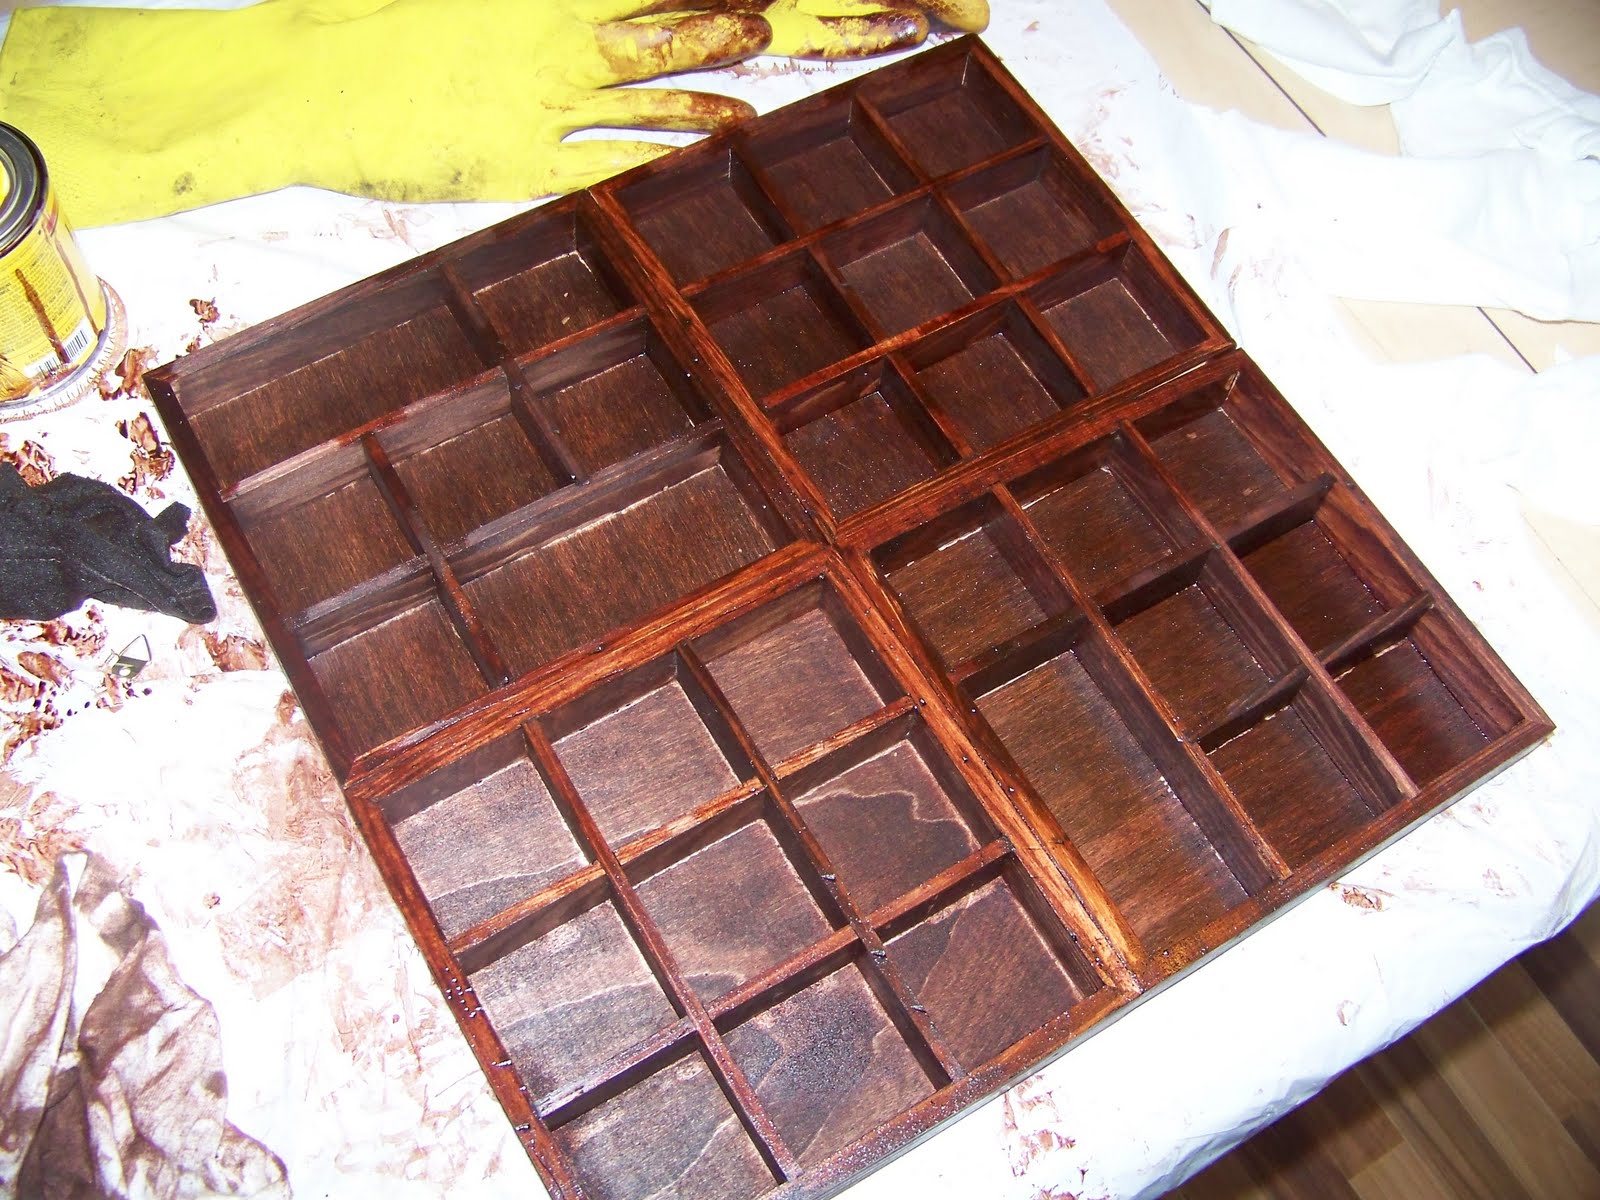
 So I tacked them together with a few nails
 Then gave them two coats of a dark cherry stain to match the shadow boxes I made last week.
  Finally, I filled the cubbies up with all sorts of little treasures from the sea.
 Beachy chic for $4.28, not bad!


