Kalorik Blender Product Review and Recipe for Pesto

>> Wednesday, September 29, 2010


A while back, I was given the opportunity by the terrific folks at CSN Stores to pick a product of my choosing from their hundreds of stores to review here on my little blog.

After this post where I frustratingly discussed my dead blender, I spent the summer longing for a new blender with high speed and sharp blades that could whip, blend and puree anything my heart desired. Enter my new Kalorik. Isn't she lovely? Isn't she won-der-ful? (everyone sing along now!)

I love her streamlined look and brushed finish. She blends seamlessly (no pun intended!) with my other appliances.

The operating system is really basic and to the point. There is a dial that turns from off to low and then to high- with the option to turn counter clockwise to pulse. What makes this almost overly simple design different is the unique 6 blade design inside.

These blades helped the Kalorik Blender BL to win Cook's Illustrated's Best Buy Award.

Let me tell you- I turned the blender onto "1" (low speed) and it liquified the living daylights out of the basil, pinenuts, garlic and everything else I had stuffed into the 6 cup glass jar!

If I had to make a complaint, the only thing I don't love is the lid. I mean, it does it's job- it stays on securely and nothing coming flying out at you. What it doesn't do is come off easily. The handle in the middle is rounded and hard to grip, so I used the little lip on the edge of the lid to pry it off. And when I tried taking the handle/center of the lid off to stream in a bit of olive oil, the ingredients inside DID splatter out- which never happens on cooking shows on TV,so I had hoped I'd gotten a blender where that wouldn't happen either. Ah well, can't win 'em all!

But again, it did blend like a dream and I never once had to switch to "2" (high speed). It is that powerful! My pesto was creamy smooth and the clean up afterward was fast and easy. It is handwash only, but I don't really mind; I have vintage Pyrex which I use daily. And that has to be hand washed as well- the extra effort for things I love to use in the kitchen is well worth it to me!

So that's my review, now here's my recipe for basic pesto sauce!

Ingredients:

(this makes 2 batches, so I only used half my ingredients at a time)
4 packed cups fresh basil leaves
2 cups fresh parsley
8 cloves of garlic
2/3 cup pine nuts
1 cup extra virgin olive oil, plus a little extra for drizzling
2 TBSP lemon juice
zest of 1 lemon
3/4 cup grated parmesan cheese
salt and pepper to taste


This recipe is so simple:

Toast the pine nuts over medium high heat until oils begin to release and they become golden brown (about 3 minutes). Set them aside to cool while you prepare your other ingredients.

Add all ingredients -except parmesan cheese- to your blender and blend until smooth. Add more olive oil at a slow drizzle or a TBSP or 2 of water to thin out if necessary.


If you are eating fresh, pour into a bowl, stir in the parmesan cheese and serve immediately.


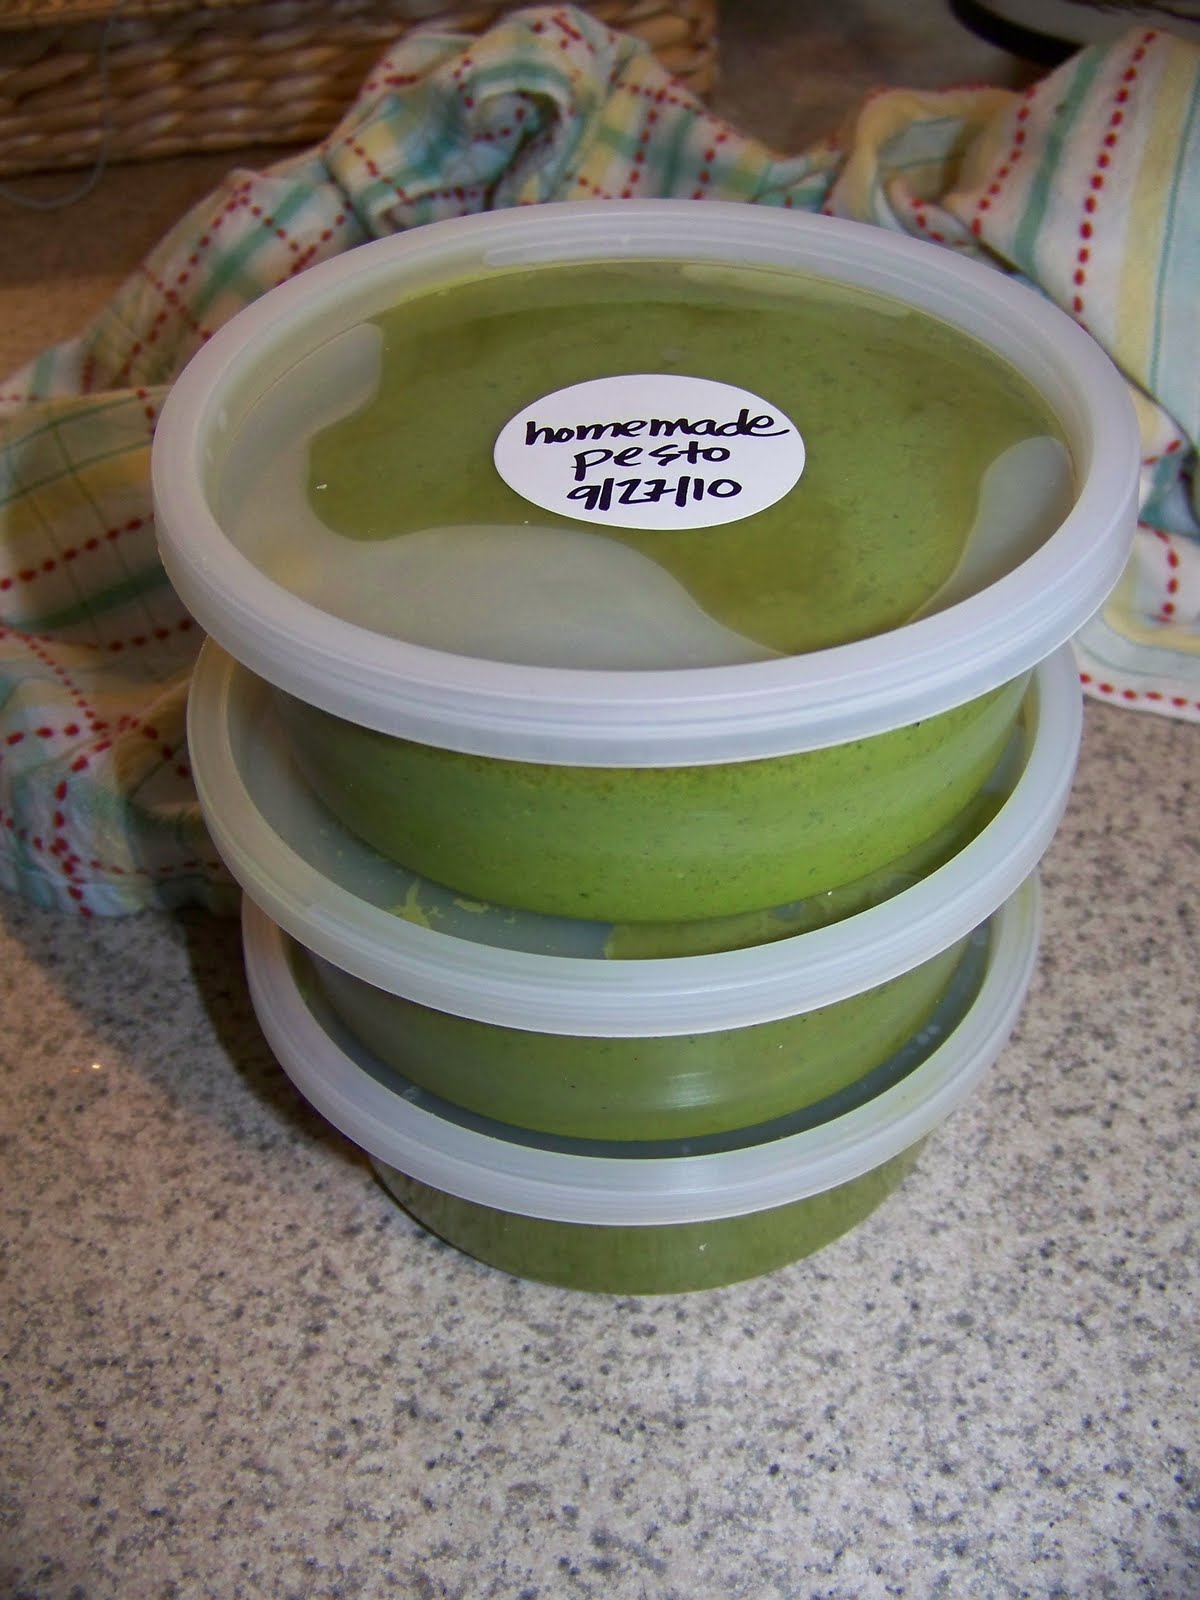
If you are planning to freeze, leave the cheese out until ready to thaw and use. Pour your mixture into an air tight container.
Drizzle a bit more olive oil on top of the pesto, place a piece of wax paper or plastic wrap directly on top of the sauce to keep the air out and then freeze for up to 3 months.


Enjoy!

I received a gift certificate from CSN Stores, which I used to purchase this blender for review. All opinions are 100% mine!

Read more...

This is not the post I meant to do

>> Tuesday, September 28, 2010

but it the post I am doing. I had a lovely post all planned out about my new blender and the yummy pesto I made with it, including the recipe for you all. BUT I just can't bring myself to type out an ingredients list and make an organized thought come together to tell you how much I love the new blender. (And I DO love it).

So instead, I'm going to leave you with a cheesy 70s love song that makes my heart sing when I think of my guy.


Pesto and blender stuffs tomorrow. Promise

Read more...

Menu Plan Monday and Thanks for your Swagbucks Help!

>> Monday, September 27, 2010

A Giant Thank You!

So first off, let me thank everyone who gave me some "inside" help with getting in touch with Swagbucks. I finally managed to get someone to talk to and they were able to change my account info and make my gift cards accessible again.

Also, Aidan thanks you. I've been saving my amazon.com gift cards to buy him a digital camera for his birthday- which is in 3 weeks, so I was getting stressed that I wouldn't be able to access them in time!

I still don't know why Swagbucks has a backwards system like that for updating account information, but at least I now KNOW and won't screw up like that again!

Now, on to the menu plan!

Monday: Chicken and pasta with homemade pesto (recipe coming for this tomorrow!) steamed broccoli, fresh bread

Tuesday:
Italian meat stromboli, green salad

Wednesday: Tuna sandwiches, tater tots and salad

Thursday:
Grilled chicken, couscous, caprese salad

Friday: Fish on the grill (whatever is fresh from the docks this day), whipped potatoes, green beans

Saturday: Cookout, burgers and dogs

Sunday: Roasted chicken, stuffing, homemade cranberry sauce and mixed veggies

linking up to I'm an Organizing Junkie for Menu Plan Monday!

Read more...

Anyone in Blogland use SWAGBUCKS? I need help in a GIANT Way!!!

>> Thursday, September 23, 2010

I need a customer service phone number for Swagbucks- ASAP! I have emailed them over and over and over again for months now with no response.

My internet provider has been changed, thus my email address changed and for some bizarre reason, Swagbucks will only let me change my email address AFTER they send a verification email to my OLD email. Uh. Hello? How am I supposed to receive it when I don't have that email address anymore?!

That being said, I had decided today to cash out my Amazon Gift Cards that I'd been stock piling for the kiddos' birthdays, blow off the 982 Swagbucks I have sitting in my account and start a new Swagbucks account with my new email address.

So after an entire day of trying to even get onto the site (it had been down until this evening) I am now being asked to "Please Verify Your Account to view your gift cards." and there's a link to click to resend the verification email.

The email I ALREADY verified for each of the gift cards back when I first received them. The email they sent to the email address I NO LONGER HAVE.

See my quandry? I am so livid right now you have no idea. I feel like I've been swindled into using Swagbucks for the past 6 months and now they won't honor the prizes I've won fair and square using their site!

Sorry to go on a tirade, but I just don't know where else to turn. I've hunted around the site looking for something other than a "contact us" email form and can't find anything.

I need a solid lead to track these people down and get this problem resolved. I know some of you out there use Swagbucks, can any of you help me? Please?!!

Signed, a very distressed Tara

PS- I've sent them a tweet as well, not sure if they'll acknowledge it or not...

Read more...

Painting Kitchen Cabinets- What I did today

>> Wednesday, September 22, 2010

Not a very exciting day, but Avery and I went out to visit best friends Jen and Walker on Maplewood Farm and Jen and I tackled her kitchen cabinets this morning.

They were this lovely shade of *ahem* diarrhea upset tummy orange. Sorry but they were.

In 5 hours we managed to entertain 2 little boys, feed them lunch and send one off to kindergarten- In addition to stripping (6 layers of paint including the aforementioned orange, Mylanta mint green, lemon yellow, stale old beige, dirty sock white and doo-doo brown- why are so many paint colors so heinous?!), sanding and priming the entire bottom section of cupboards AND their doors.

Once the primer dries, they'll be painted the same soft green color as the wainscoting that runs around the rest of the kitchen walls. (Which you can sort of see peeking out from behind our disastrous mess in both photos!)

And that's what I did today. Phew!

Read more...

We finally finished the patio!

>> Monday, September 20, 2010

When we moved in a year ago this was our back yard and porch


And then the first weekend we started this project in August- we had NO IDEA what we were getting into


and perhaps you remember my post about the black cherry tree which halted our progress?

Then finally, the excavation was finished, the cherry mess was cleared away and the brick laying began


The patio project also included the task of taking down the small red stairs that led on and off the porch and removing the railings to make a wrap around staircase so the porch was open to the patio, instead of blocked off and disconnected looking


So yesterday morning, best friends in hand, we finally finished with our project- just in time for fall, lol!


The finished project! I know it's not any award winning backyard makeover like you see on TV, but we did it ourselves- with the help of good friends and it is exactly what we wanted for our lifestyle. Our backyard is now a useable space for our family!


Read more...

Today on my workbench we have

>> Thursday, September 16, 2010


rough bezel settings for several pendants and a tiny pair of earrings.

I soldered them yesterday, today I trim the excess, file and shape and add the bails.

More photos tomorrow!

Read more...

My Sorta Pear Tart Recipe

>> Wednesday, September 15, 2010


I don't know anything about making traditional tarts, but I'm happy to share with you my version of a tart on the quick and cheap! Something this fun to make and eat is my snail's pace way of letting autumn come into my world- enjoy!

Ingredients:
8 sheets phyllo dough
3-4 pears (I chose d'anjou because they had beautiful color and were on sale this week!)
3 TBSP unsalted butter (separate 2 tbsp for the glaze)
3 tsp granulated sugar
2 TBSP apricot preserves
1/2 tsp pure vanilla extract
1/4 tsp pumpkin pie spice

Directions:
In a shallow pie or tart pan, layer phyllo 2 sheets at a time, painting with 1 TBSP of melted butter and sprinkling with sugar until you achieve 4 layers. Trim off any excess dough that hangs over the edges.
Place into a preheated 350 degree oven for 8 minutes.

While the shell is baking, core the pears and slice them thinly. You can either leave the skins on or remove them. I opted to keep them on for time efficiency. Plus they're pretty!

Once you've finished slicing your pears, set a small saucepan on low heat and combine apricot preserves, 2 remaining TBSP of butter, vanilla and pumpkin pie spice. Stir until smooth.

Remove the tart shell from the oven and lay the pear slices in a spiral towards the center.
Spread the apricot glaze over the top of the pears and bake for 20-25 minutes until the pears soften and the glaze is slightly bubbly.

Serve warm with a dollop of whipped cream or vanilla ice cream if desired!

Read more...

Menu Planning Monday on Sunday!

>> Sunday, September 12, 2010


I'm a day early, but my plan is made, so I'm posting it! As I make some of these dishes throughout the week, I'll write up recipes and post them- adding links in this menu plan.

Sunday: Grilled Hamburgers with garden fresh tomatoes, basil and mozzarella, green salad with homemade croutons
Monday: Baked Macaroni and Cheese, green salad and pear tart for dessert
Tuesday: Tuna Subs, tater tots and fresh tomato salad
Wednesday: Sausage and Peppers over Linguine
Thursday: Italian Grilled Chicken, couscous and cucumber salad
Friday: Italian Wedding Soup with fresh bread
Saturday: Diner's choice- aka leftovers!

Linking up to Menu Plan Monday over at I'm An Organizing Junkie!

Read more...

Back to school means back to work for mom!

>> Wednesday, September 8, 2010

With some quiet in the house for a few hours, I've finally been able to get back in gear with my jewelry- the first two pieces I made are pendants using a client's own seashells from her collection

Settings complete

Ready for dry fitting

After a good polishing we have the pecten shell pendant

and the olive shell pendant

Nice to feel productive again!

Read more...

August's Top Droppers!

>> Thursday, September 2, 2010

I've been a total slacker about thanking my top Entrecard Droppers lately and I'm sorry folks! It's been pure laziness, I wish I had a better excuse.

So now, apologies out of the way, I give you my top droppers for August:

Sparkle: Sparkle is the author of two cat-to-cat advice books (no humans!), has her own Muse Medallion-winning calendar and is one of the original cat bloggers - she has been blogging since January, 2003!

bethere2day: bethere2day is a personal blog about anything and everything, fun, humour, randomness and rants.

Joe Taxpayer: A personal finance blog, topics include investing, taxes, finance, debt, retirement. Your EC ad will appear above the line on my blog.

Another Fine Meal
: A personal blog to share family recipes. Your ad will appear above the line on my blog. I am trying to only accept ads that fall into my category, to benefit both my readers and advertisers.

The Beadings and Buttons of Randomcreative: I chose my username because I have always enjoyed making random creative projects using all different colors and materials. I opened my Etsy shop on Halloween of 2008.

Megan Bayliss: Small business website matcher and freelance writer. I match and support small business websites and blogs to encourage a year round Christmas spirit of goodwill, generosity, altruism and giving. Our all year secret Santa fun = motivated traffic to you.

The Crazy Suburban Mom
: don't judge me till you've gone a mile in my mini van

amy lilley designs: A visual experience of my art, photography, jewelry, including gifted Etsy artists and many more as I cruise along....

Guide to Life for Women: Entertaining Ideas, Recipes and Menus, Wine Reviews, Diet and Exercise Tips, Health and Nutrition Articles, Organized Living...and General Women's Interests.

Getting Busy Living: I am a British man living with my American wife in the English countryside. We love to explore and have fun with our differences, although we are much more alike than we are different. Follow our travels and travails and expect the unexpected.

Read more...

Beautiful Butterprint Pyrex!

>> Wednesday, September 1, 2010

It's been a busy summer and I haven't participated in Vintage Thingies Thursday in what feels like ages! I've missed it!

This week I wanted to share my newest Pyrex acquisitions. I've only just begun collecting vintage Pyrex so I don't have too many pieces yet, but I'm sure that won't be a problem for long! I am in love with all things turquoise and have decorated my kitchen and dining area with vintage (and vintage inspired) items in a turquoise, white and green color scheme.


My Blue Heaven dishes that I've mentioned a few times here were the very first thing I ever bought that started me on this vintage voyage. I got a giant box of the dishes for $5.
Shortly after I started collecting the Blue Heaven, I learned about Fire King (who made some of the pieces to my set) and then I started to discover the glorious world of Pyrex and all the colors and patterns- ooooooh ahhhhhhh Pyrex! So now that I am on the hunt for it constantly, my mother hunts for it for me as well!

Last week, mom arrived unexpectedly with a brown bag filled with goodies for me. Though they were tightly wrapped in newspaper, they were clearly nesting inside each other. Let me tell you, I couldn't get the paper off of them fast enough!

She found an entire set of the Butterprint Cinderella nest bowls in near mint condition (there is one small 1/4 inch metal mark on the largest bowl) for a whopping $15! And they are all for me! I couldn't be more thrilled. Unexpected gifts are the best, especially when they're of the Pyrex variety!

Happy VTT, my friends and please visit Susazanne over at the Coloradolady for more vintage finds!

Read more...

Blog template by simplyfabulousbloggertemplates.com

Back to TOP